Those Beautiful Heirlooms!
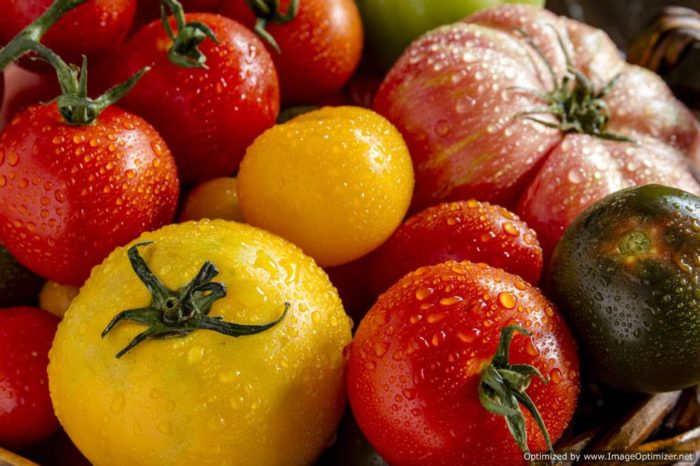
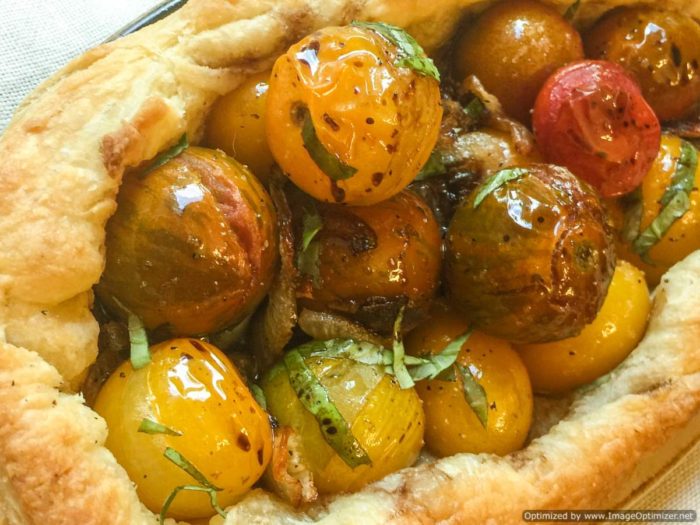
So these beautiful, colorful, ripe heirloom tomatoes have been calling my name for the last several weeks. Every time I walked through produce (and we buy a LOT of produce!) I would stop. I knew I wanted to do something special with them…as much as I love salads I wanted to do something more…something that would highlight their amazing colors and bright flavor and make them the hero of the dish. Enter these Heirloom Tomato Tarts!
Perfect for Date Night
As I’ve shared before, Mike and I are “almost empty-nesters”, and on this particular day we were cooking for just the two of us. We decided to make it a stay-at-home date night and grill steaks. And I knew the perfect side for those great rib eyes would be these tarts!
“Knowledge is knowing that a tomato is a fruit. Wisdom is knowing not to put it in a fruit salad.” – Brian O’Driscoll
The Rustic Tart
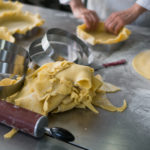
I started with a store-bought package of puff pastry. Even though my kids are mostly grown up, I still work a full-time job, take care of my home, my hubs, and a multitude of fur-babies, and try to spend as much time as possible working on my blog; so I am all about simple shortcuts to make delicious meals easy for anyone!
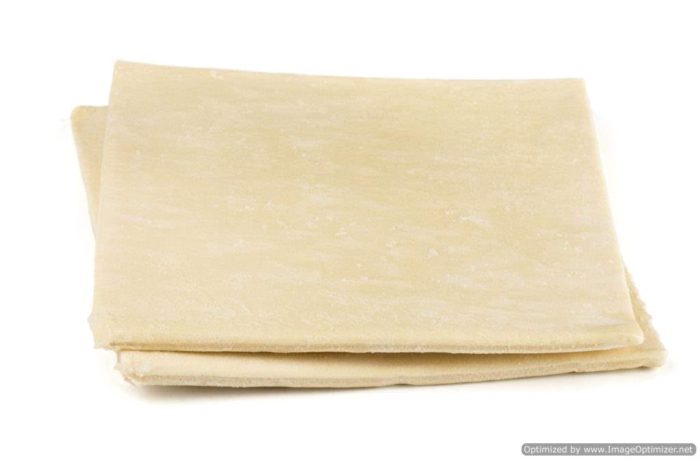
Make sure the puff pastry thaws for 20-30 minutes before you unfold it so it doesn’t break. Once it’s pliable, open up the sheets.

Place a tart pan upside down on your dough, and cut around the pan about 1 inch out from the edge. You should be able to get 2 circles from each sheet of dough (more if you are using smaller pans).
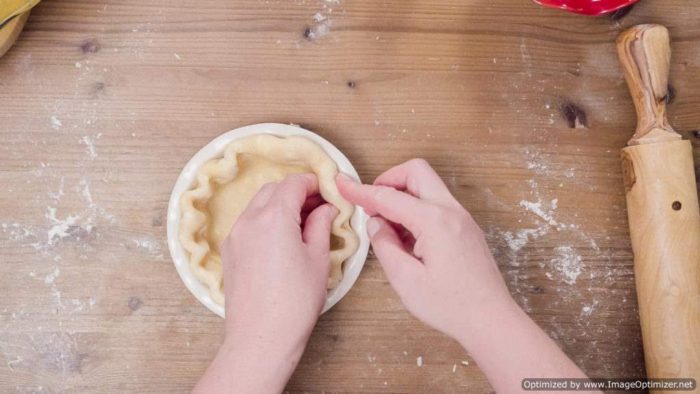
Lightly grease your tart pans with butter or with cooking spray, then gently place your dough into the pan, pressing it against the bottom and sides. Beat the water and egg together to make an egg wash. Brush the edges of each tart with the wash, then fold the excess dough over the top edge of the pan. Use your fingers or a fork to make scallops or hatches in the thick edge. This will give your tart a spectacular look when it puffs up during cooking.
Pierce the bottoms of each tart dough with a fork several times to vent any steam and keep the dough from bubbling up as it cooks.
Saute the sliced onions and garlic in the oil/butter until they are caramelized (they will be a beautiful golden color and very tender).
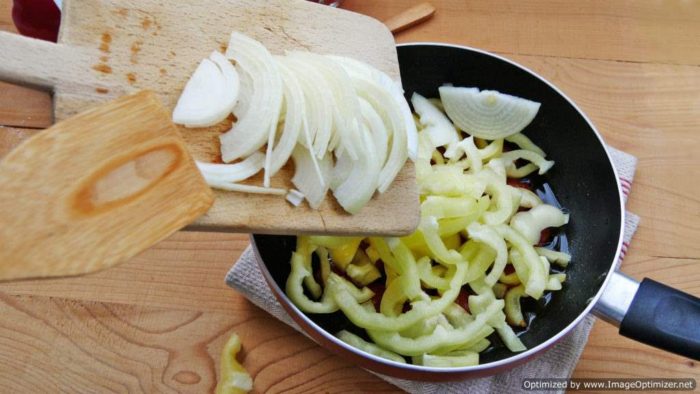
Let them cool for a few minutes, then divide them equally into the tart pans. I add the tomatoes to the pan I sauteed the onions in and roll them around in the pan with my hands just to get them coated a bit in that oil remaining from the onions. Season with salt and pepper and the fresh basil. Divide the tomatoes among the tarts.
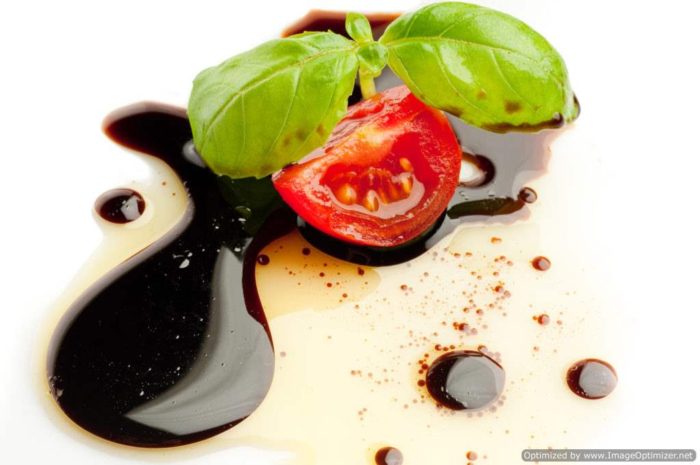
Place the tarts on a cookie sheet and bake until they are golden brown and flaky and the tomatoes are blistered. Sprinkle or brush oil/balsamic vinegar mixture (what goes better with tomatoes than balsamic?) over the tops of the tomatoes and let cool for about five minutes.
These Heirloom Tomato Tarts make a great side dish, or pair perfectly with a green salad as a main dish. For a Ladies Lunch with your friends or for Brunch with a rich, runny egg over the top! Oh yum! However you decide to serve them I know you will love them! Let me know what you think in the comments below. And if you love this why not subscribe in the box to the right so you won’t miss anything. Remember to always add A Slice of Spice to your every day!
Michele
Heirloom Tomato Tarts
A flaky puff pastry crust wrapped around colorful heirloom tomatoes and carmelized onions.
Ingredients
- 1 Box Puff pastry dough – thawed
- 1 egg – beaten with 1 teaspoon of water
- 1 1/2 lbs heirloom tomatoes the smaller ones work better
- 1 yellow onion – thinly sliced
- 2 cloves garlic – minced
- 1 tbsp olive oil or olive oil/butter combo
- 1 tbsp fresh basil – chopped
- 1 tsp salt
- 1 tsp pepper
- 2 tsp olive oil
- 2 tsp balsamic vinegar
Instructions
-
Thaw the frozen puff pastry for at least 20 minutes, or until it is pliable, so it won’t break when you unfold it. Unfold the dough and cut circles about 1 inch wider than the widest part of your tart pans. Lightly spray your tart pans with cooking spray and gently put the dough circles into the pans, making sure they are pressed well against the bottom and up the sides. Pierce the bottoms of each tart several times with a fork to ventilate.
-
Brush the top edge of the crusts with the egg mixture. Fold the dough extending from the edge of the tart pan back over the edge to make a thicker crust around the top of the pan. You can use your fingers to make scallops in the dough, or use the tines of a fork to make a decorative edge.
-
On medium-high, heat 1 tbsp of olive oil, or olive oil/butter combined if you prefer, in a heavy skillet. When the pan is hot, add the sliced onions and garlic, stirring frequently. Lower heat to medium and continue cooking for 15-20 minutes, until onions are tender and golden in color. Lightly salt.
-
Let onions cool for about five minutes, then divide them evenly into the tart pans. Preheat oven to 400 degrees.
-
Add the tomatoes into the pan you cooked the onions in, and gently stir them around (I use my hands to make sure I don’t break open any of the tomatoes) to lightly coat them with the oil/butter from the pan. Lightly salt and pepper tomotoes and add the fresh basil, then divide evenly among the tart pans. You may have extra tomatoes depending on the size of the tarts you are using…they will be great in a salad!

-
Put tart pans on a cookie sheet, then into the oven. Cook for 15-20 minutes, until tomatoes are blistering and the pastry is flaky and golden brown. Remove from oven.
-
Mix olive oil and balsamic vineger. Lighly sprinkle or brush mixture over each tart and allow to cool for five minutes.

I love heirloom tomatoes and of ciurse puff pastry! I would never have put this combination together.
Give it a try Jennifer! I think you will love them.
I’m not a big tomatoe person, but my husband and his family loves them! I should try to surprise them with this! Im sure they would love it cause it looks really tasty! And I LOVE your pictures! They are on point!
Thank you so much Eileen! You should surprise them with this. The tomatoes and the onions make this spectacular!
Looks tasty and healthy! Great combo 🙂
Thanks Dominique!
This looks like a great recipe. I never would have thought about doing an heirloom tomato tart!
It is delicious! Give it a try!
Tomatoes, basil and balsamic vinegar….a tremendously flavorful combination! Yum!
It definitely is! Hard to go wrong with that trifecta!
This is seriously so beautiful! I would almost make it as a center piece:)
Oh, thank you Cindy!
I’m a huge fan of tomato tarts at this time of year, especially rustic ones.
Thank you Tina. I am too!
These look delicious! I really love the taste of heirloom tomatoes.
Thank you Christa! I do too…I think they are sweeter than regular tomatoes.
Thanks Abbie. Come visit again!
Fabulous recipes! I love heirloom tomatoes, the taste is not comparable with the regular tomatoes!
I agree Ina. They are sweeter and brighter I think. Thanks for visiting!
I love tomatoes and this looks so delicious! Can’t wait to try it!
Thank you Kristi Ann! I hope you enjoy it!
Wow, looks yummy. Great recipe! I will have to try this out.
Thanks Melissa. Let me know how you like it.
This looks so pretty! I wish my hubby at tomatoes! Maybe i’ll Make it for just myself using grape heirloom tomatoes!
It can absolutely be a one-person dish! Give it a try!
Looks delicious! Yes tomato is fruit – I keep trying to convince my husband of that. I’ll have to give this a try
I hope you do! Let me know what you think!
They look so pretty! I could probably convince my kids that these were dessert 😉
LOL! They are sweet enough to be dessert!
Looks delicious – yum!
Thank you Pam. Come visit again soon!
Yum! Sounds delicious! Definitely trying this recipe soon! Thanks!!!
Thanks Laura. Let me know how you like it.